Table of Contents
Almost everything people do on Macs requires an internet connection, including work, communication, and pleasure. Therefore, when there is a Mac wifi connection issue, especially while other devices can connect smoothly, it may be quite annoying. There are a variety of reasons why it might occur, and we’ll explain the causes and solutions for you.
Reason for Mac Wifi Connection Issues When Other Devices Connect Well?

Your internet access is functioning if other devices in your house or place of business are online. Therefore, an issue with your Mac or the connection between your Mac and the router might be the reason of your Mac wifi connection issue. If it is a mac issue, it’s generally a software issue that can be easily resolved. But the only way to find out is to eliminate each potential reason one at a time via trial and error.
Tips for Troubleshooting Wifi and Internet Connection
1. Switch the Wifi On and Off Again
There are occasions when troubleshooting Wifi and internet connections may be as simple as that. Flip the button to the off position after clicking the Wi-Fi symbol in the menu bar or the Control Center icon. Once again, turn it on after a little wait.
2. Restart Your Mac
Consider restarting your Mac before taking any further action. By doing so, you can restart the application you were using when you attempted to connect and delete any temporary files. That could be sufficient to solve the issue on its own.
At this moment, you ought to go to System Settings > General > Software Update or Apple menu > About this Mac > Software Update for macOS updates on pre-macOS Ventura systems.
3. Reconnect to Your Wi-Fi Network
The next thing to try is to set your Mac to forget the network if your MacBook Air isn’t connecting to Wi-Fi but other devices are. In this way, the connection will be fully refreshed and you will need to reenter your Wi-Fi password. In the menu bar, click the Wi-Fi symbol and choose Wi-Fi Settings. After selecting Forget this Network, click Details next to the network name. Click the Wi-Fi symbol once again in the menu bar, and then select Other Networks by clicking the drop-down arrow next to it. Enter your password and username after selecting your Wi-Fi network. This advice is compatible with all Mac models, just like the other solutions we provide.
4. Check You’re Connected to the Correct Wi-Fi Network
It should be automatic for your Mac to connect to the network with the greatest signal, but occasionally it doesn’t. Websites may not load properly and appear to be unconnected if the device connects to a network that is farther away. To see which network is highlighted in blue, click the Wi-Fi menu. Click the proper one if it’s the incorrect one.
5. Move Closer to Your Router
Try moving closer to your wifi router if you’re using a MacBook Air or MacBook Pro. The more distant you are from the router, the weaker the Wi-Fi signal gets. Your Mac could be experiencing trouble keeping a steady connection even when the menu bar icon is displaying a good signal. If it’s feasible, you may also try shifting your router. When at all feasible, wireless routers should be placed away from walls and other objects that might interfere with their signal, such microwave ovens.
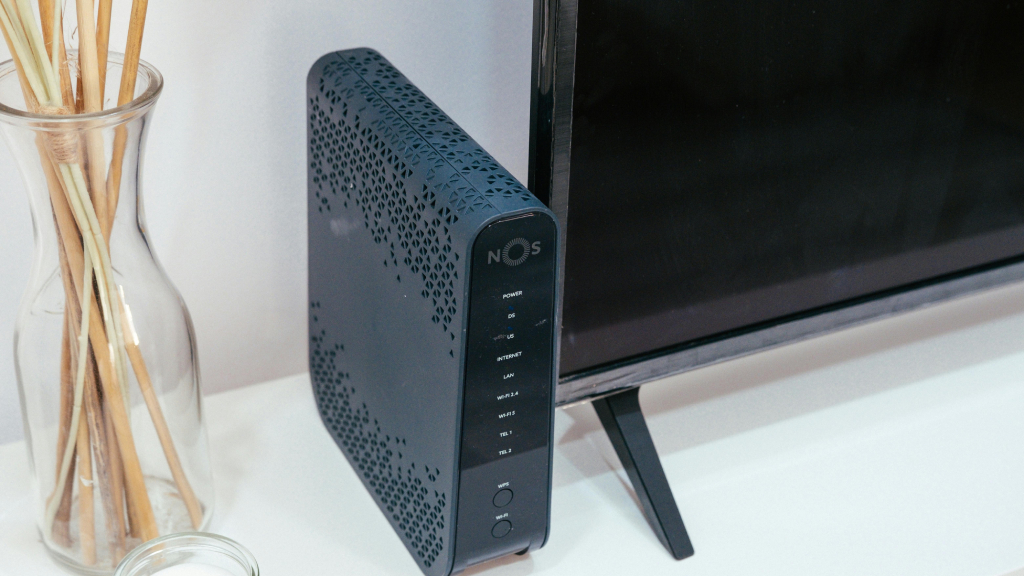
6. Restart Your Router
The router could be at fault even if other devices that are linked to it are able to access the internet. For whatever reason, it might not have been able to assign your Mac an IP address. Restarting the router will fix it.
7. Change Your DNS settings
When navigating to a website on your Mac, the web browser that you are using looks for the IP address associated with the URL of the desired page. Cross-referencing with a domain name system (DNS) server allows it to accomplish that. That DNS server is often the one that your internet service provider has specified. If there’s a problem with that server, you can’t access any websites on your Mac. You may resolve that by configuring your Mac’s DNS settings to utilize Google’s DNS, which is dependable and quick.
1. Select System Settings from the Apple menu.
2. Select Network, then after that, click Details next to the wireless network you are currently using.
3. Select DNS from the sidebar, followed by the ‘+’ next to DNS Servers.
4. Type: 8.8.8.8
5. Press the OK button.
6. End System Configuration
Your Mac will now check Google’s DNS server rather than the one specified by your service provider when it tries to access a web address.


