Table of Contents
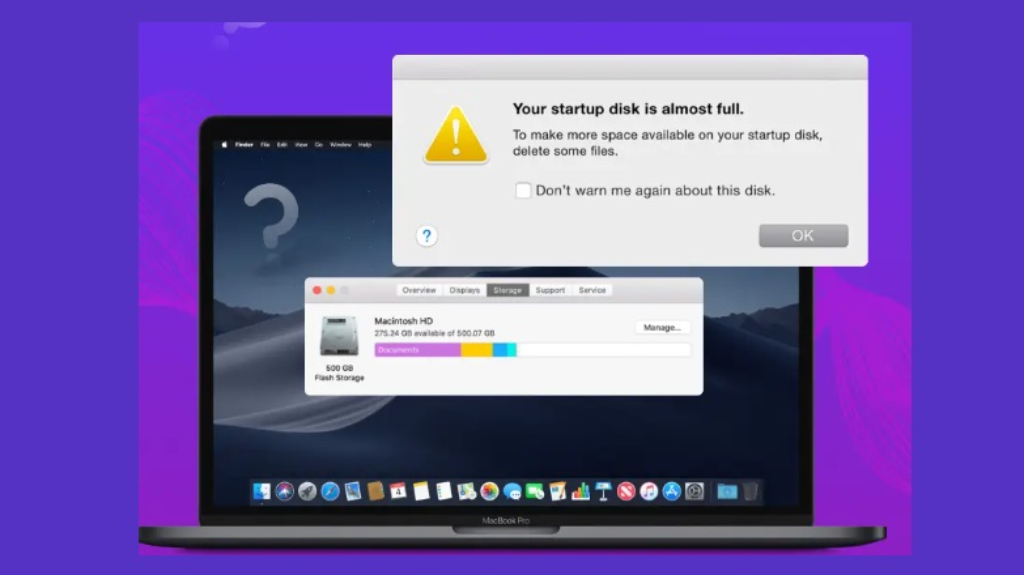
It’s not enough to have adequate space on your startup drive for data storage and app installations. It has a significant impact on your Mac’s speed as well. If you don’t optimize your Mac startup disk, you may get slowdowns, errors, and other issues.
What Is a Mac Startup Disk?
A volume on your Mac’s hard drive that has a functional operating system on it is called a Mac startup disk.
There are volumes (or partitions) on your Mac hard disk. Your Mac data, including your operating system and apps, is stored on each disk (or partition). Power users on Macs may have two or more drives, although the majority only have one.

You may divide the storage across the two volumes on a Mac. While the other Mac drive is only utilized for file storage, the one having the operating system on it serves as the startup disk.
Outcomes of a Full Mac Startup Disk
- Unable to store files: Running out of storage space is the most evident effect of a full drive. It is not possible to install new programs or store or download files.
- No further updates: Upgrade files require free space, thus you are unable to upgrade macOS or your programs.
- Slowdowns: A lot of system processes need free space in order to store files temporarily and run more smoothly. Many commonplace operations, like starting a browser, can feel slower than usual when the startup drive is full.
- Crashes in applications: To function correctly, several programs require space to store temporary files. In the event that this isn’t accessible, the app might break.
- Errors: Apps and system processes might not function as intended. On your Mac, the “disk is full” notification might also appear.
How to Examine Your Disk Space
Let’s examine how to check your disk space in more detail:
- From the menu in the upper-left corner of your screen, select the Apple icon.
- Select About This Mac > Additional Details.
- Select Storage Options.
How to Clean Up Your Mac Startup Disk
We’ll go over seven fixes when your disk is almost full.
1. Erase Cache Files on Your Mac
Apps and system processes save data in cache files for short-term use while they working. Despite macOS’s best efforts to self-regulate, certain temporary data gets ignored and eventually accumulates. This is because unneeded cache files are automatically deleted.

Get rid of Mac cache files:
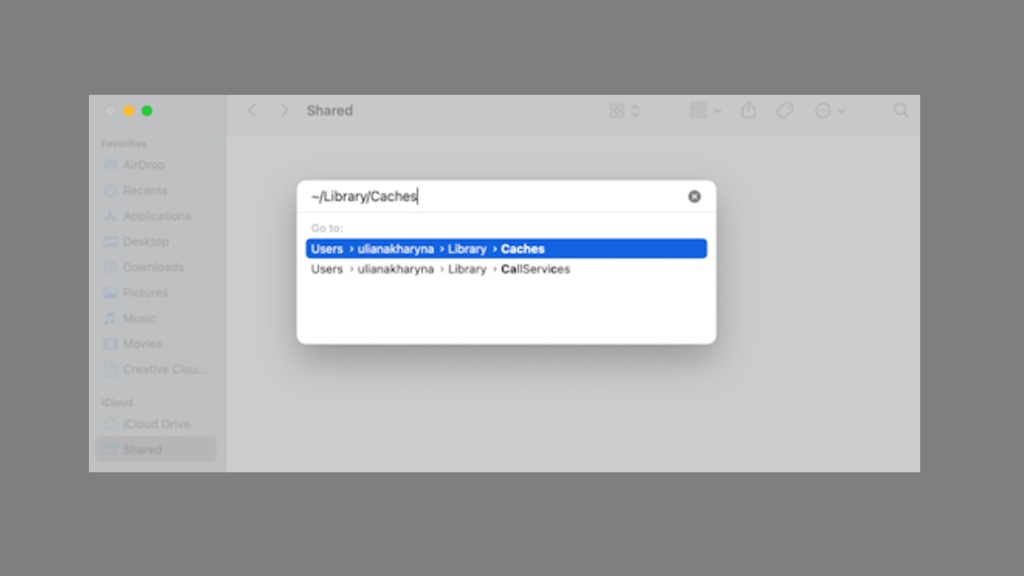
- Open the Finder. Then select Go > Go to Folder from the Apple menu bar.
- Enter
~/Library/Cachesin the blank space and hit Return. - The contents of the Caches folder will now be seen in Finder. To select everything, press Command + A at the same time. Next, choose Move to Trash with a right-click on your selection.
The programs and processes you use on your Mac will also create new files after you delete them.
2. Nullified Localization Files
Another name for localization files is “language packs.” Many programs have additional languages installed that you most likely don’t need. Delete the ones you don’t need to save up space on your Mac:
- First, open the Finder.
- Select Applications.
- Press and hold an application.
- Choose Show Package Contents.
Go to Contents > Resources from this point on and search for files with the extension.lproj. In the unlikely event that you choose to utilize your program in a different language, such as Spanish (es.lproj), these are the languages it supports. Move the ones that you won’t utilize to the Trash.
3. Get Optimized Storage
Optimized Storage is a simple-to-use feature provided with macOS. It is an integrated function that provides suggestions for Mac space optimization. To begin utilizing it, either navigate to System Settings > General > Storage or repeat the steps you took to the storage (Apple menu > About This Mac > More Info > Storage Settings). You’ll see Recommendations under the storage bar, including Empty Trash Automatically, Optimize Storage, and Store in iCloud.
4. Empty Trash
You may save everything you remove from your system drive in the Trash folder. In other words, a file that you remove from Finder is moved to the Trash folder.
It’s really simple to clean up your Trash folder, which can have a significant influence on how much storage space your Mac has.

In order to remove files from the Trash:
- Select Empty Trash by right-clicking on the Trash icon in your dock.
- To finalize the action, click Empty Trash once again in the dialogue window.
Additionally, you can remove a single item or several files from the Trash folder. After choosing the files you wish to remove, right-click and choose “Delete Immediately.”
5. Check for Duplicate Files
Duplicate files are created both directly and indirectly by several Mac programs and processes. This works well for getting rid of useless stuff.
- Examine the file list. Once you’ve chosen any duplicates, right-click and choose Move to Trash.
To remove duplicate photo on your Mac:
- Launch the Camera app. Click Duplicates under Photos in the left sidebar.
- To clear duplicates, click Merge Items for the desired items.
6. Uninstall Extra Apps
Apps that have enabled automatic updates will gradually rise in number as new files are downloaded.
On the spot, you may significantly clear up your Mac startup disk by uninstalling only one software. Consider whether you can live without or no longer use any of your applications.
For a speedy removal of bulky and inactive Mac apps:
- Go to the System Configuration app. Click General in the left sidebar. Click Storage in the right pane.
- Select the i button located next to the size indicator of the Applications entry.
- To change the order of the list, click the parameters at the top of each column. We advise sorting the list according to Size. Next, choose the app to remove and press the Delete button.
- To finalize the operation, click Delete once again.
7. Create Space by Utilizing iCloud:
Your Mac will begin transferring these files to iCloud as soon as your local storage is filled but only in the event that this option is enabled. To see whether the Photos app is in sync with iCloud, locate the Photos icon after opening Applications.
- Open the Photos application. Select Pictures > Settings from the navigation bar.
- Choose Mac Storage Optimization. After that, shut the window.
- By checking the box, iCloud Photos will connect your photos library to iCloud.
Your Mac will begin transferring these files to iCloud as soon as your local storage is completely filled but only in the event that this option is active.


